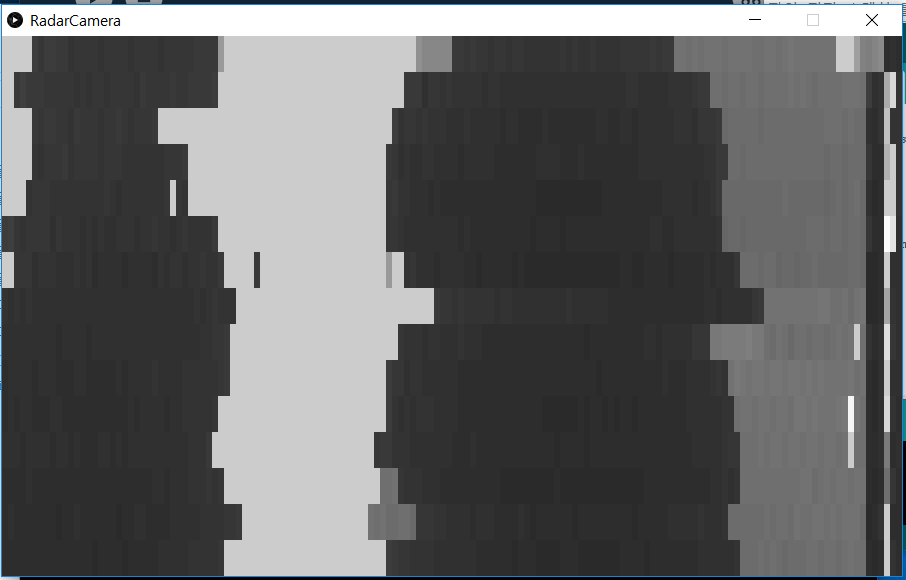
Processing
Processing is a visualization tool that can be used to show the serial data coming from the Arduino serial comms. I was easily able to learn from examples and build my own scanline visualizer.
Processing only needs to receive the serial data and draw the appropriate rectangles (pixels) on the screen.
import processing.serial.*;

Serial myPort;

String angle1 = "", angle2 = "";
String distance = "";
String data = "";

int iAngle1, iAngle2;
int iDistance;
int index1 = 0;
int index2 = 0;

void setup() {
	size(900, 540);
	smooth();
	myPort = new Serial(this, "COM4", 9600);
	myPort.bufferUntil('.');
}

void draw() {
	pushMatrix();
	noStroke();
	fill(iDistance);
	rect(900 - (iAngle1 - 15) * 6, (105 - iAngle2) * 12, 6, 36);
	popMatrix();
}

void serialEvent (Serial myPort) {
	data = myPort.readStringUntil('.');
	data = data.substring(0, data.length() - 1);

	index1 = data.indexOf("/");
	angle1 = data.substring(0, index1);
	index2 = data.indexOf(",");
	angle2 = data.substring(index1 + 1, index2);
	distance = data.substring(index2 + 1, data.length());

	iAngle1 = int(angle1);
	iAngle2 = int(angle2);
	iDistance = int(distance);
}
Processing is based on Java.
void setup()
void setup() {
	size(900, 540);
	smooth();
	myPort = new Serial(this, "COM4", 9600);
	myPort.bufferUntil('.');
}
Identical to Arduino’s setup(). This only runs once. size() determines the window size, and smooth() is an antialiasing option. A new Serial object is created with Serial(parent, port, baudrate).
The most important setup is bufferUntil(). This determines how long to buffer serial input. Upon receiving a dot the contents of the buffer is handed over to serialEvent().
void serialEvent()
void serialEvent (Serial myPort) {
	data = myPort.readStringUntil('.');
	data = data.substring(0, data.length() - 1);

	index1 = data.indexOf("/");
	angle1 = data.substring(0, index1);
	index2 = data.indexOf(",");
	angle2 = data.substring(index1 + 1, index2);
	distance = data.substring(index2 + 1, data.length());

	iAngle1 = int(angle1);
	iAngle2 = int(angle2);
	iDistance = int(distance);
}
This cuts up the serial string received about one pixel. Using the slash and comma, the horizontal and vertical angle and distance is extracted and saved in int form.
void draw()
void draw() {
	pushMatrix();
	noStroke();
	fill(iDistance);
	rect(900 - (iAngle1 - 15) * 6, (105 - iAngle2) * 12, 6, 36);
	popMatrix();
}
Similar to Arduino’s loop(). Keeps looping after setup() and draws on the screen.
pushMatrix() and popMatrix() is a method used for the matrix stacks on Processing. These can be used to save the current origin point and recover it later.
noStroke() sets the border to none for shapes being drawn. Conversely noFill() can be used to not filling in the shapes.
fill() sets the shade of the shape. Depending on parameter, three values for RGB can be used for color, or only one value can be given for shade. Since I’ve got only one value (distance), pixels will only have shade. This will result in a black and white picture.
Some photos
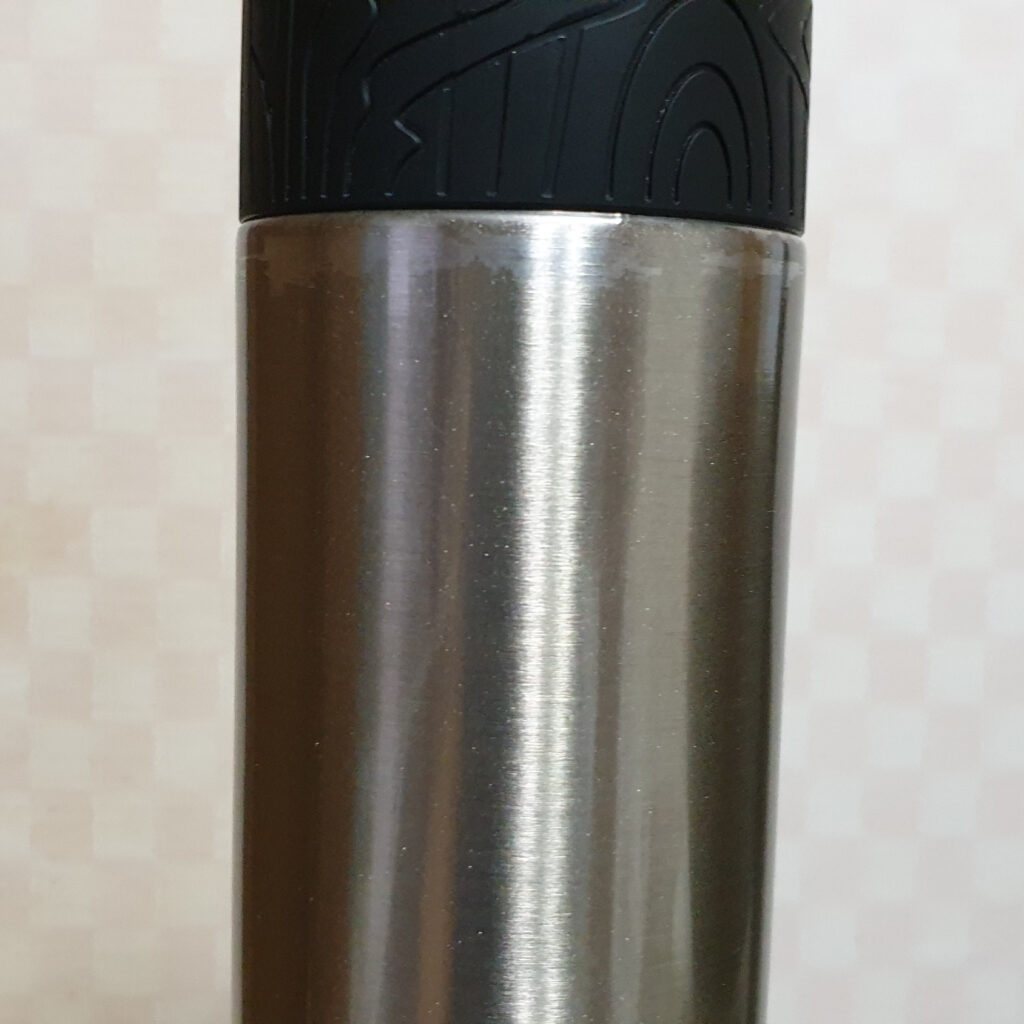
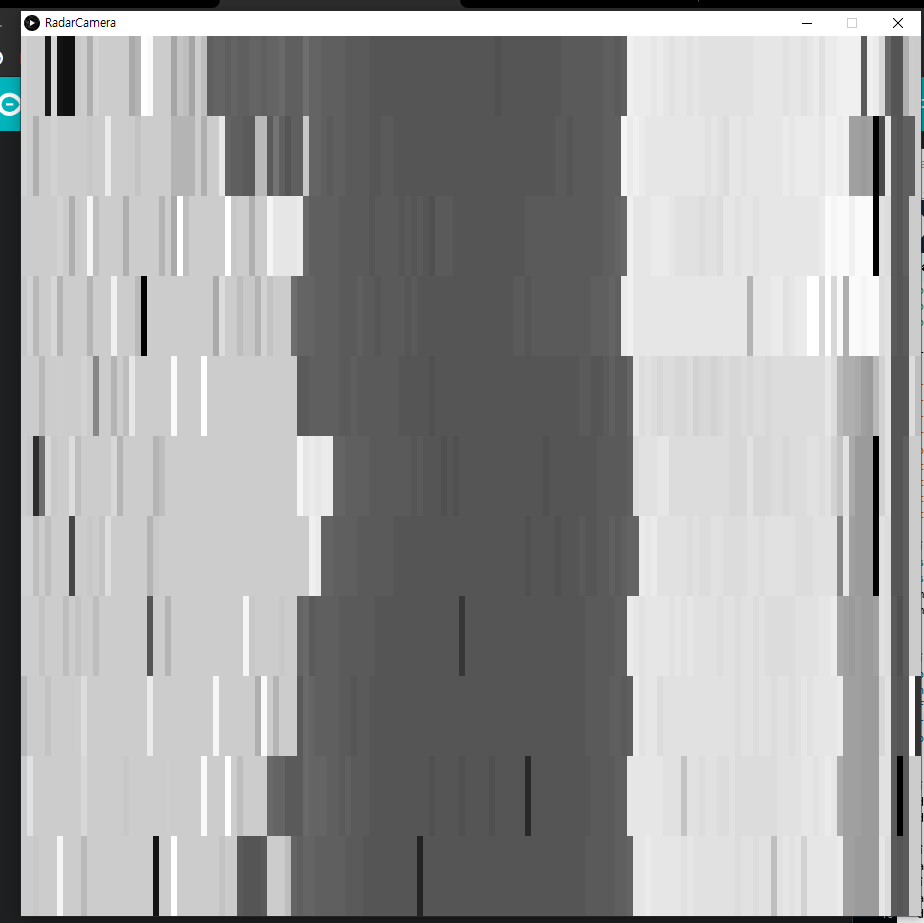
Taking a picture of a water bottle. The picture is not clean, but recognizable.
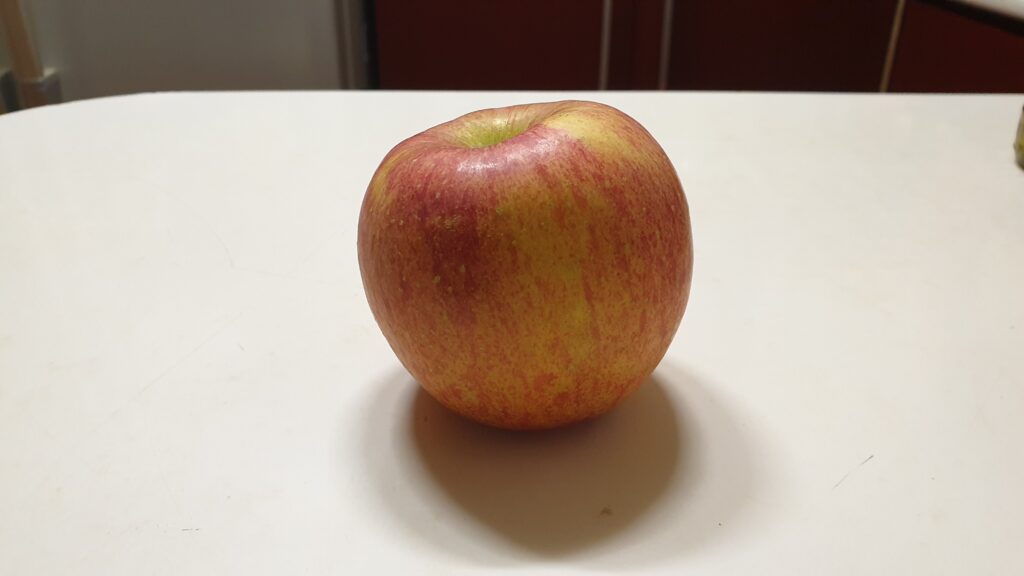
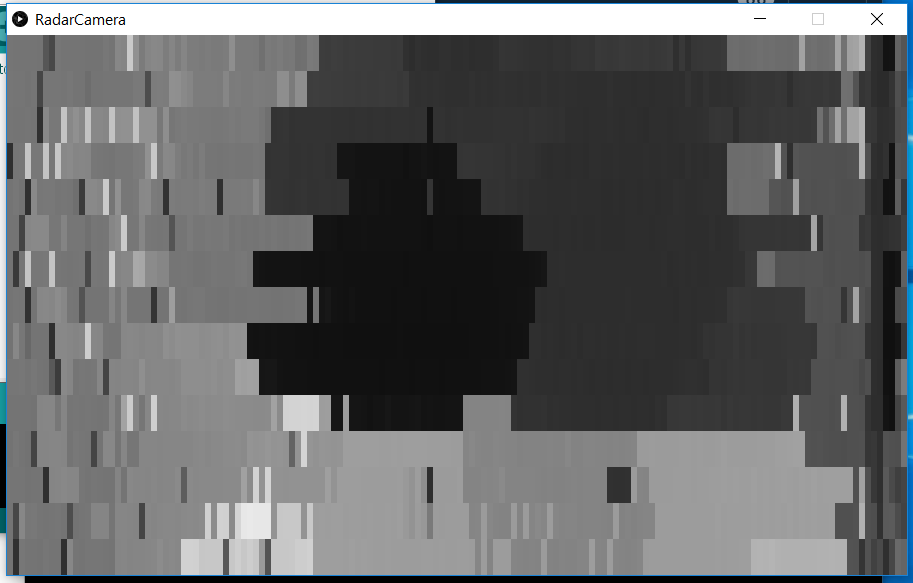
A picture of an Apple. Also not perfect, but a general round shape is present as well.
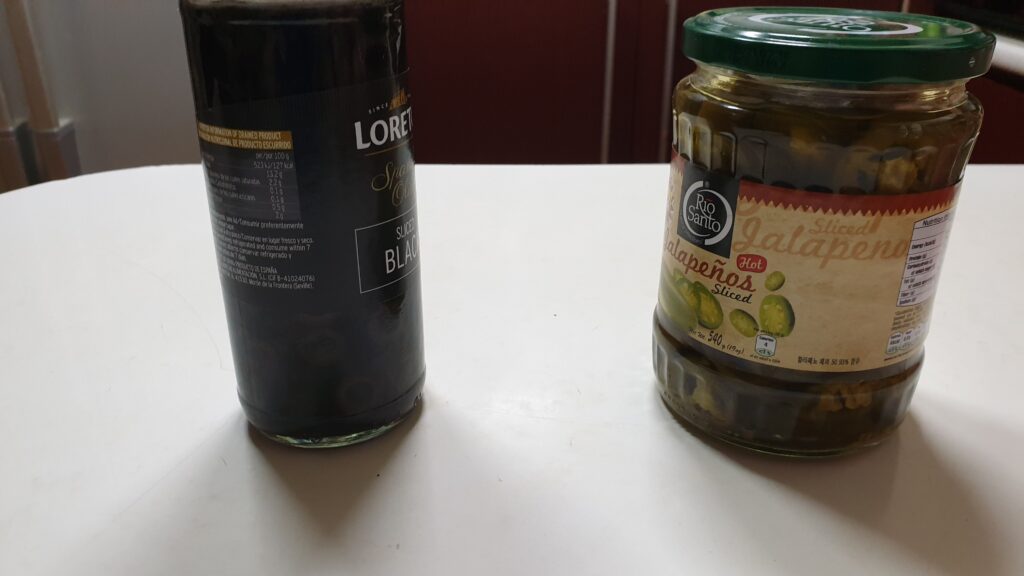

Two jars. This is the cleanest result yet. I’ve only tested the camera on round objects only, so I’m guessing the ultrasonic waves were more scattered.
