Similar to docker containers, TrueNAS systems have a jail. A jail is an independent container, which is great for tinkering. I needed to use a VPN connection for a jail I was using.
Installing & Configuring OpenVPN
Within the shell of the jail, I installed OpenVPN.
pkg install openvpnNext, create a directory for the VPN credentials.
mkdir /usr/local/etc/openvpn
vi /usr/local/etc/openvpn/auth.txt
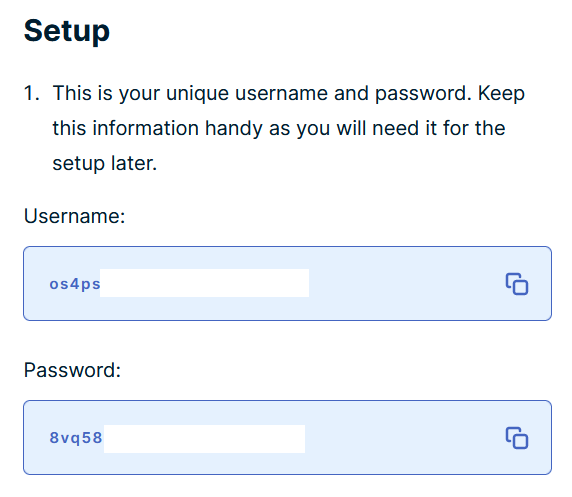
Within the text document, the username and password needs to be put on each line. As I was using ExpressVPN, I found my credentials at https://www.expressvpn.com/setup#manual.


It is good practice to modify the permissons so only the owner can read the file.
chmod 0600 /usr/local/etc/openvpn/auth.txtAdding a connection profile
Download the provided .ovpn files and move them to the OpenVPN directory. There are various ways to obtain the ovpn files.
mv [ovpn file] /usr/local/etc/openvpn/openvpn.confOpen the newly added configuration file. Add these lines to automatically connect on boot.
# Automatic login
auth-user-pass /usr/local/etc/openvpn/auth.txt
auth-nocache
Activating OpenVPN
Use the sysrc command to enable the OpenVPN service.
sysrc openvpn_enable="YES"
sysrc openvpn_if="tun"
In the TrueNAS shell (shell of the whole system, not the shell of the jail) set the iocage parameters to allow_tun=1.
iocage set allow_tun=1 [jail name]At this point a full system reboot would be good.
Checking VPN connectivity
When the reboot is complete, enter the jail and check its public IP address.
curl -s http://wtfismyip.com/textIf the results differ from your server’s public IP, it means the jail has successfully connected to the VPN, and all activity is going through the tunnel.
